Select your language
")
")
")
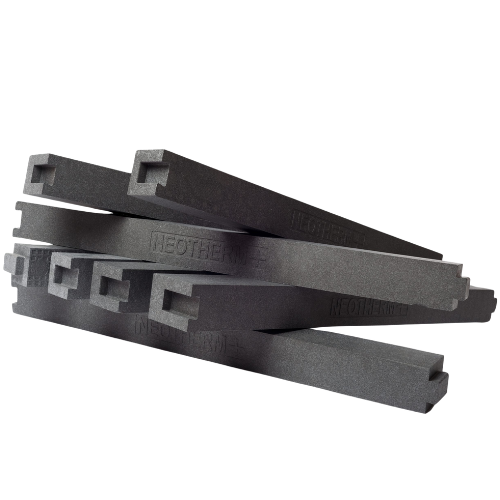
Neotherm Plus
Description
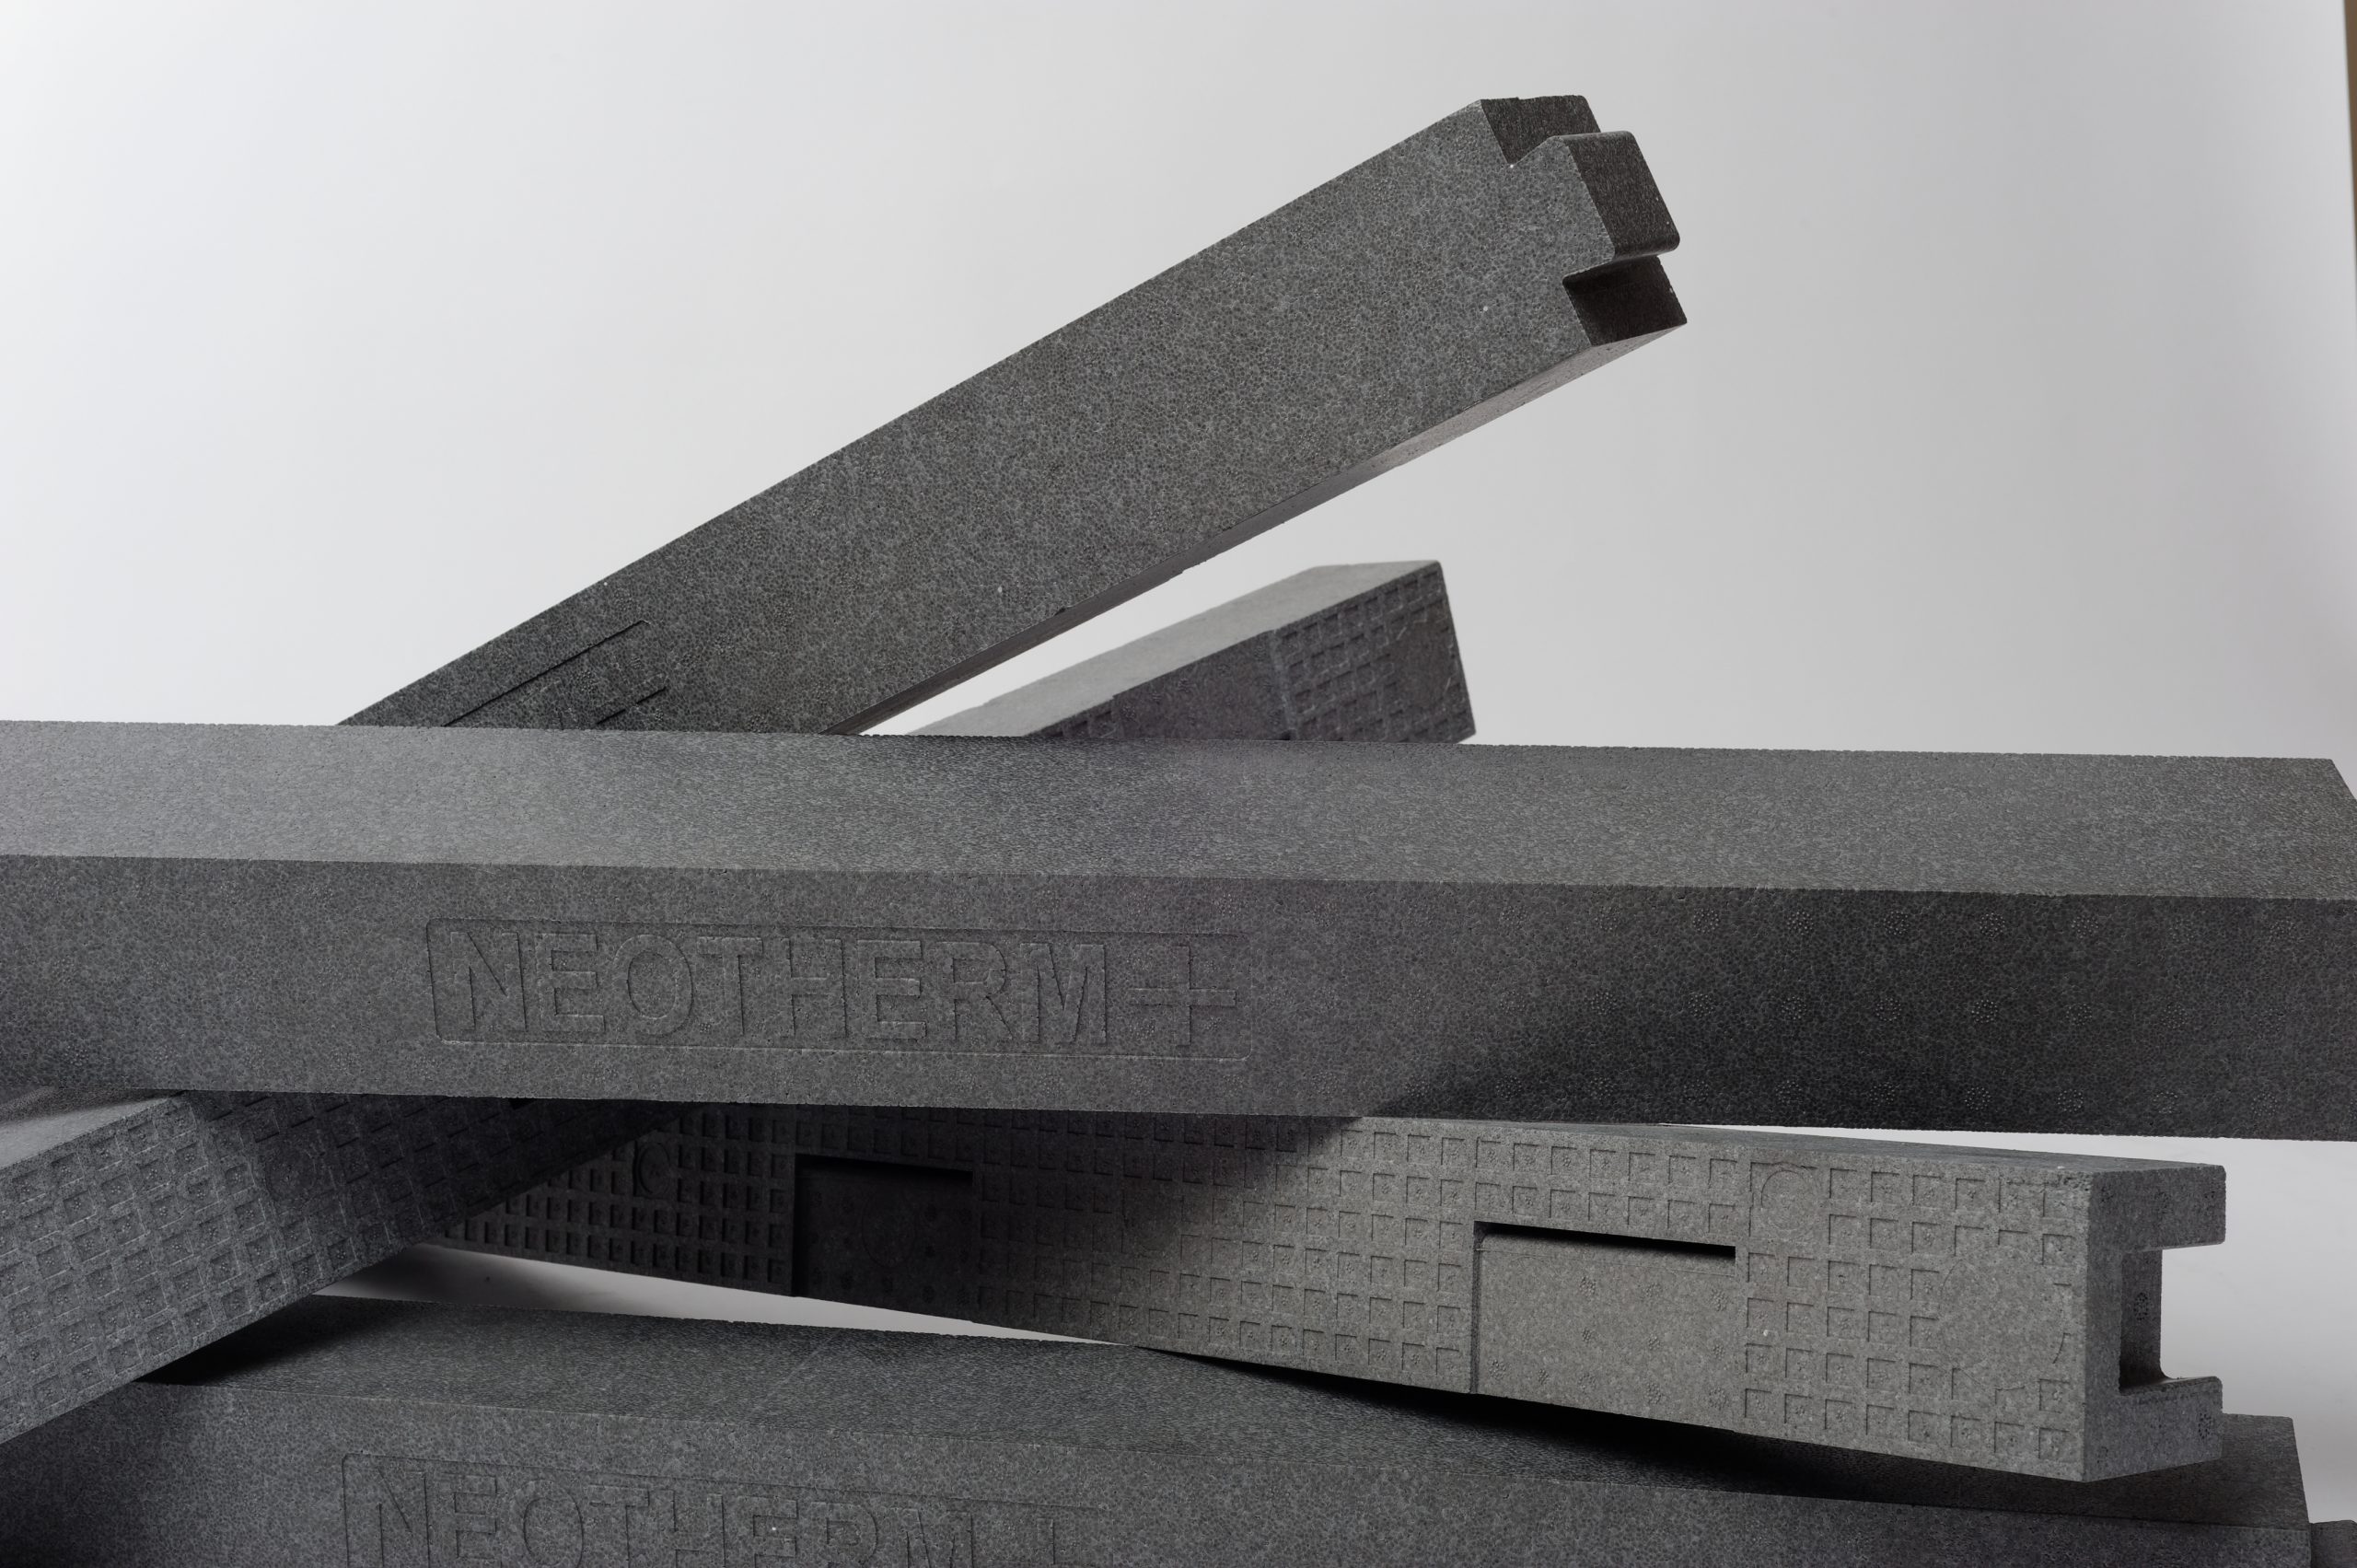
Neotherm Plus profiles are designed for window insulation. The profiles are made from Neopor material. Neopor is an enhanced expanded polystyrene that contains graphite particles, which reflect infrared radiation and reduce heat loss. Neopor's properties are up to 20% better than those of regular expanded polystyrene. Neopor is one of the most economical thermal insulation materials, with the highest ratio of energy use to energy savings.
Thermoprofile Neotherm Plus
| Description | Length, Height, Width, mm | Pieces per Pallet |
| Neo+8570 | 1180 x 85 x 70 mm | 392 |
| Neo+8580 | 1180 x 85 x 80 mm | 350 |
| Neo+85100 | 1180 x 85 x 100 mm | 280 |
| Neo+85150 | 1180 x 85 x 150 mm | 182 |
| Neo+85200 | 1180 x 85 x 200 mm | 140 |
Neotherm Plus thermal profiles for window insulation are designed for the external insulation of windows, preventing wind, condensation, moisture, and mold formation. Neotherm Plus profiles are ideal for installing windows into the insulation layer.
Installation:
The installation system can be processed with simple tools and consists of three parts:
- Thermoprofile
- Polyurethane glue
- Mounting screws
Installation Guide:
- Measure the required length of the profile and cut it to fit if necessary.
- Use a level to check the flatness of the wall and the profile, and mark the wall.
- Priming the wall and profile is not necessary, but they must be clean and free of dirt. Gluing can also be done on a damp surface.
- Prepare the profile by placing it on a convenient surface and apply adhesive in two layers. Apply the adhesive from one end to the other, covering the entire surface.
- At the corners, the adhesive strips should intersect.
- Once the adhesive has dried, drill through the profile and secure it to the wall with screws.
Important facts before installation:
- During gluing, the ambient temperature must be between 0 and +40°C, and the temperature of the glued surface must be between 0 and +35°C.
- When gluing at a lower temperature, it is recommended to warm the glue in warm water.
- Profiles should be kept warm before gluing.
- Conduct adhesive strength tests at least 24 hours before installation.
- Take a Neotherm Plus profile at least 200 mm long and glue it to the installation site. Do not insert screws. After at least 24 hours (at least 48 hours if the temperature is below +5°C), perform a strength test with a load of 800N (81.5 kg). If the adhesive does not withstand this load, the surface must be primed and additional fastening screws used.
| Main Features | Operational Characteristics | Harmonized Technical Specification, Standard 5 |
| Insulation Thickness D | Refer to product label | LST EN 13163: 2012+A1:2015 |
| Avarage Thermal Conductivity λ:10 | 0,037 W/(m*K) | LST EN 12667 |
| Thermal Conductivity RD | Refer to product label | LST EN 13163: 2012+A1:2015 |
| Compressive Strength CS(10) | ≥1500 kPa | LST EN 826 |
| Flexural Strength BS | ≥1700 kPa | LST EN 12089 |
| Fire Resistance Class | E | LST EN 13501-1 |
| Permissible Board Dimensional Tolerances | LST EN 13163: 2012+A1:2015 | |
| Length L(3) | ± 3 mm | LST EN 822 |
| Width W(2) | ± 2 mm | LST EN 822 |
| Thickness T(2) | ± 2 mm | LST EN 823 |
| Squareness S(5) | ± 5 mm/1000 mm | LST EN 824 |
| Flatness P(10) | ± 10 mm/1000 mm | LST EN 825 |
PDF TOOTELEHT